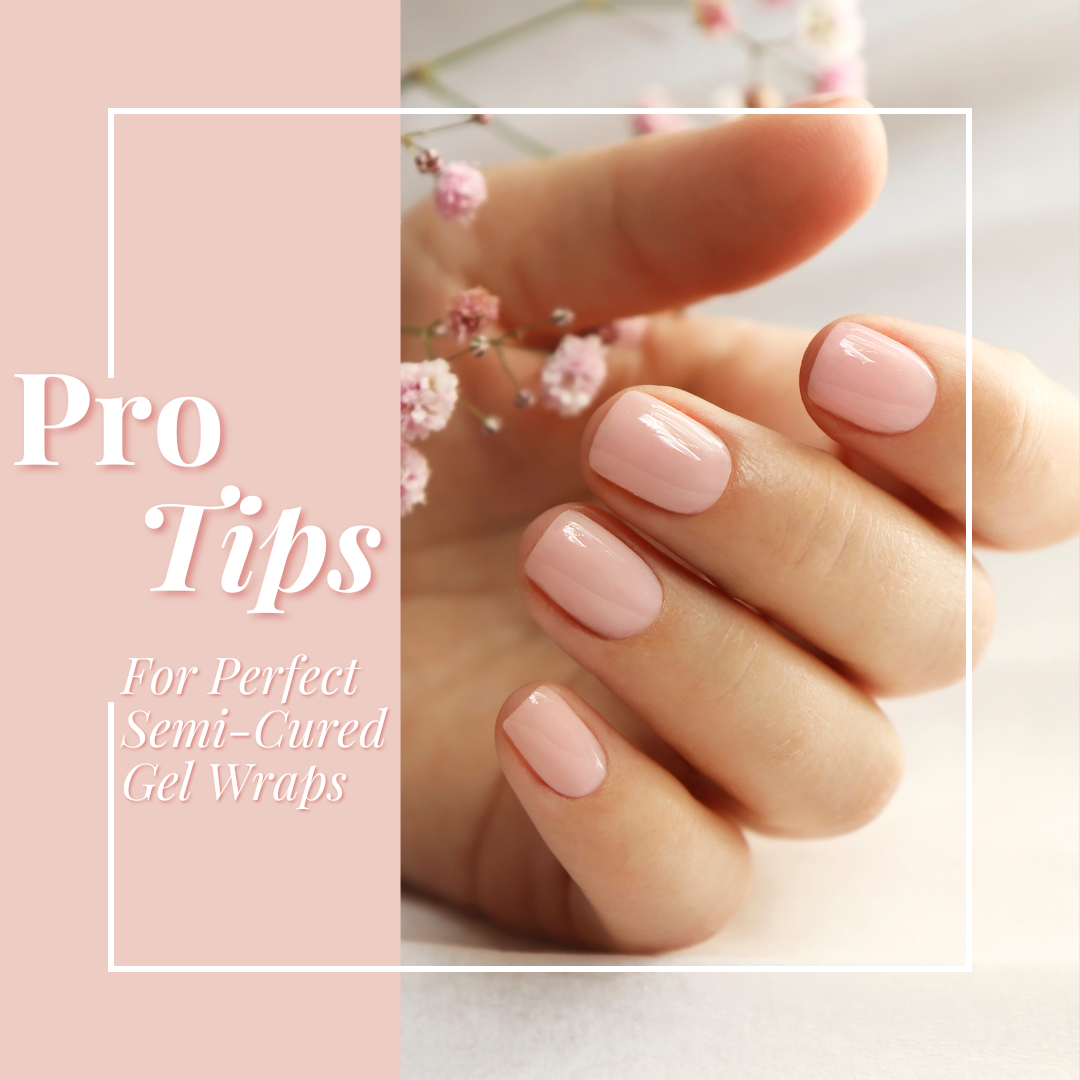
Pro Tips for Perfect Semi-Cured Gel Nail Wraps
Share
Semi-cured gel nail strips offer a salon-quality manicure right at home, but getting that flawless, long-lasting finish takes a little bit of know-how. If you’re ready to master the art of semi-cured gel strips, this guide is packed with pro tips to elevate your manicure game!
1. Start with a Clean Slate
- Wash your hands with dish soap before application. Dish soap removes oils and residue better than regular hand soap, helping the strips stick better.
- Use alcohol prep pads to ensure your nails are free from oils, dust, or moisture, which can hinder the adhesive’s performance.
2. Prep Your Nails Properly
- File and shape your nails to your desired length and shape before applying the strips.
- Push back your cuticles to create a great base and buff your nails lightly (use a rough grit file, not a fine buffer) to help the strips adhere better.
3. Choose the Right Size
- Select a strip that’s slightly smaller than your nail width, leaving a tiny gap between the strip and your skin. This ensures better adhesion and minimizes lifting at the edges.
4. Warm Up Your Strips
- For better flexibility, warm up the strips in your palms for a few seconds before peeling them off. This softens the adhesive and makes them easier to apply smoothly.
5. Avoid Touching the Adhesive Side
- Handle the strips by the edges to avoid transferring natural oils from your fingers onto the adhesive, which can weaken the bond.
6. Use a Cuticle Stick for Precision
- To get the perfect fit, use a cuticle stick to press down the strip, especially near the cuticle and sidewalls. This ensures a snug and secure fit, reducing the risk of lifting and hair snags!
7. Trim Excess with Nail Clippers
- After applying the strip, use nail clippers to trim excess length. This creates a clean, smooth edge that prevents chipping or peeling, unlike using a nail file which can roughen the edge.
8. Cure from Multiple Angles
- Place your fingers under the UV/LED lamp and rotate them slightly to ensure the strips cure from all sides. This ensures that the gel sets evenly and fully.
9. Seal with a Gel Top Coat
- For a thicker manicure with added protection, apply a UV gel top coat to add an extra layer of shine and protection. Cure again for a long-lasting, chip-resistant finish.
- Avoid applying the top coat over any faceted gems on your nail strips; instead, go around them to maintain their brilliance.
10. Don’t Skip the Rubbing Step
- Once the strips are applied, rub them down firmly with your thumb or a silicone pusher to remove air bubbles and help the adhesive bond well.
11. Give It Time Before Getting Wet
- Avoid immersing your hands in water (showers, dishwashing, etc.) for at least 8 hours after application. This gives the strips enough time to set and adhere fully to your nails.
12. Use Cuticle Oil for Easy Removal
- When it’s time to remove your semi-cured gel strips, use cuticle oil along the edges to gently lift them off. This method protects your natural nails and reduces the risk of damage.
13. Store Strips Properly
- Always store unused strips in an airtight, cool, and dry place, away from direct sunlight. Semi-cured gel strips can harden if exposed to air or sunlight for too long.
14. Try Stretching for a Perfect Fit
- If the strip is slightly too small for your nail, you can gently stretch it horizontally before applying. This helps achieve a better fit without creating wrinkles or bubbles.
15. Apply in a Controlled Environment
- Avoid applying the strips in a humid or hot environment, as moisture or heat can affect the adhesive. Find a cool, dry spot indoors for the best results.
16. Use the excess!
- Have extra nail strips? You can pre-cut them and use them for a second manicure, or a matching pedicure!
With these pro tips in mind, you’re well on your way to creating a perfect, salon-quality manicure at home with semi-cured gel strips. From the right prep steps to curing techniques, these small tweaks can make a big difference in achieving a flawless, long-lasting finish. Try them out and enjoy the confidence of gorgeous, professional-looking nails!